


How to install Oracle Linux 7.9 with VMware, step by step? Easily install Oracle Linux 7.9 and start using it in virtual machines.
1. Required Tools and Software
Before you begin the installation, you will need:
- VMware Workstation
- Oracle Linux 7.9 ISO file
- At least 20 GB of disk space and 2 GB of RAM (for the virtual machine)
2. Creating a New Virtual Machine in VMware
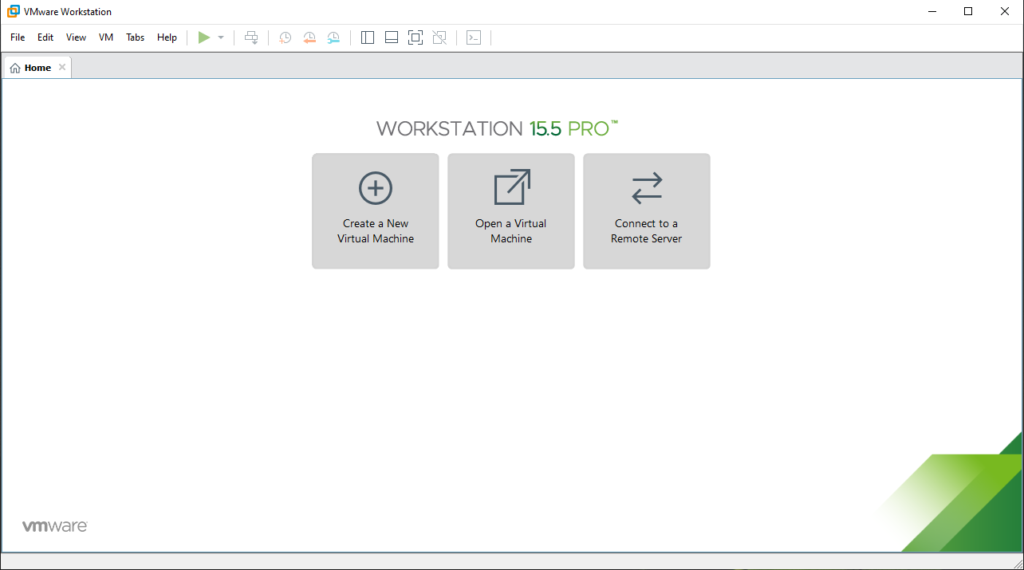
- Open the VMware application and click on the Create a New Virtual Machine option.
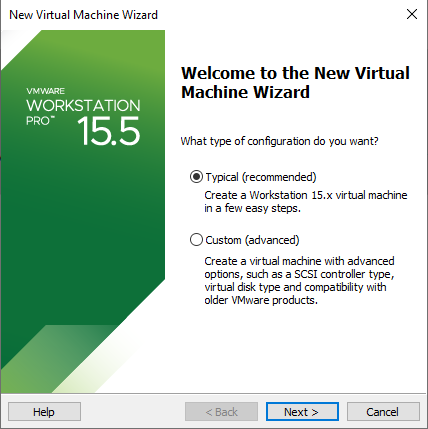
- Select the Typical installation mode.
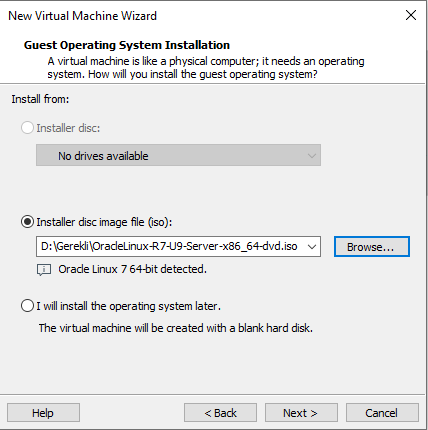
- Locate and select the Oracle Linux ISO file you downloaded with Browse.
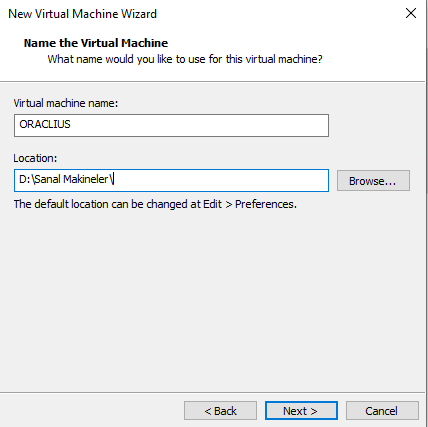
- Choose the name of the Virtual Machine and where to install it.
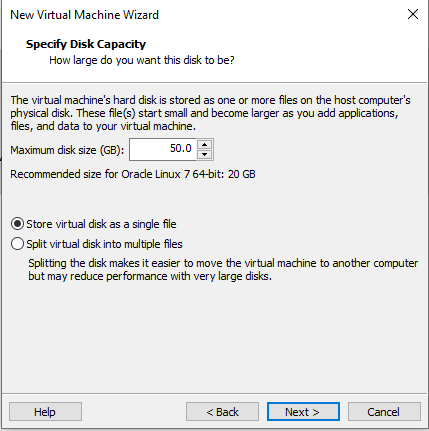
- Specify the disk size for the virtual machine (for example, 20 GB).
- Store Virtual Disk as a Single File: Consists of a single large file with better performance.
- Split Virtual Disk into Multiple Files: Easier to Move, Copy and Manage and Consists of Multiple Files.
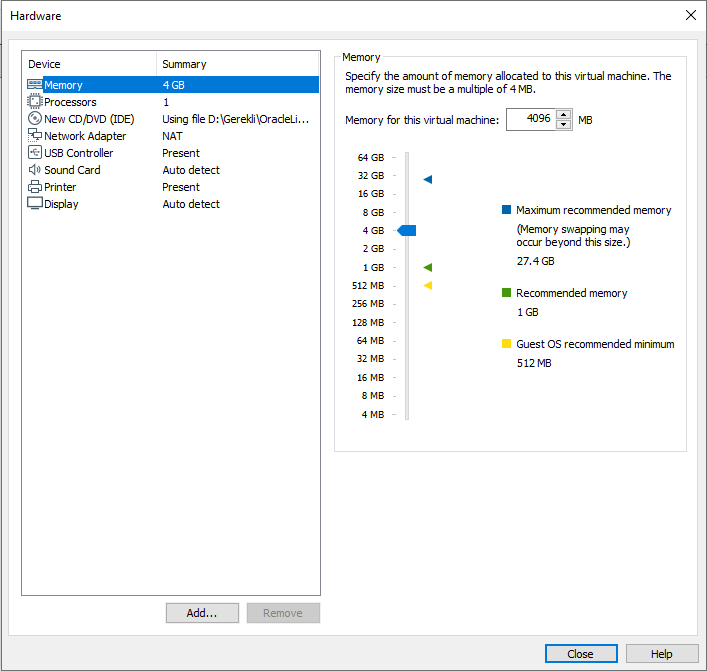
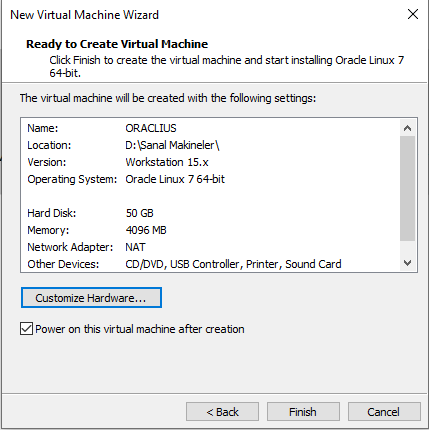
- RAM and CPU can be increased from the Custom Hardware section (We can also change the resources of our machine as we wish after installation).
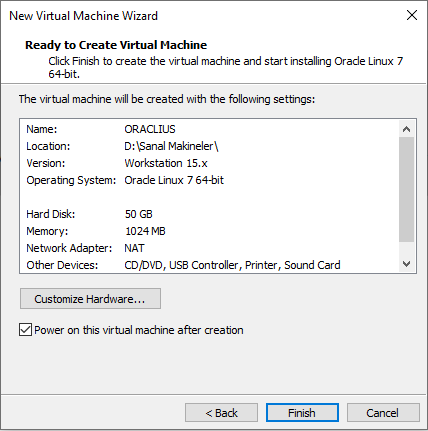
- The installation starts by clicking Finish.
- Minimum 20GB data space and 2GB Ram should be allocated.
3. Oracle Linux 7.9 Installation
Start the virtual machine and access the Oracle Linux installation screen.
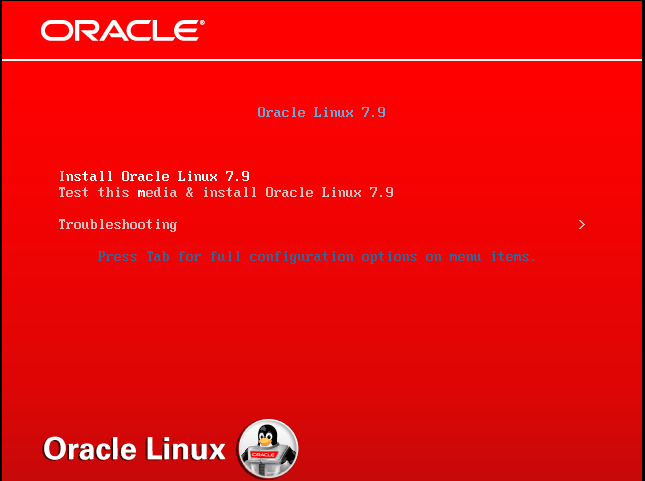
Select the Install Oracle Linux 7.9 option.
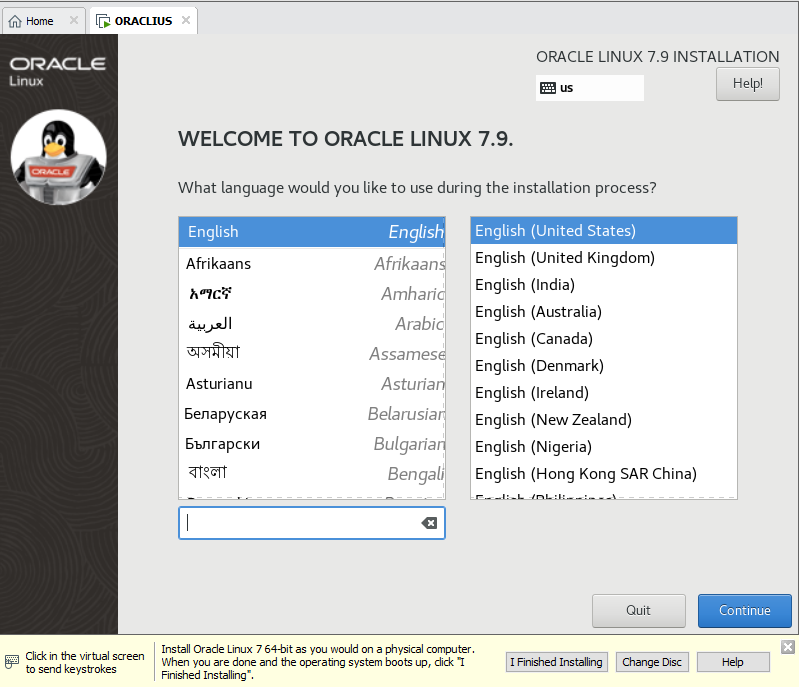
Select your language.
DATE & TIME
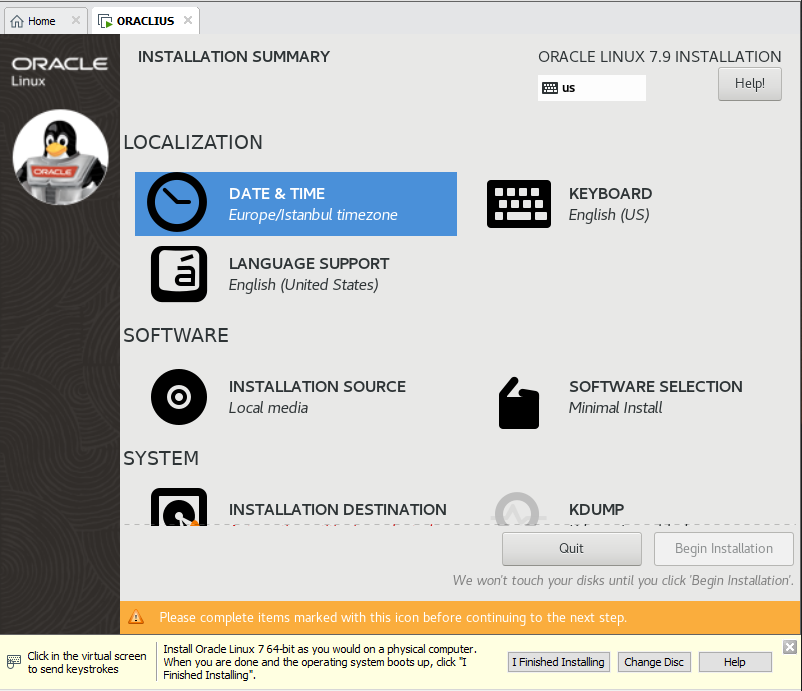

We select Istanbul as the date and time information.
KEYBOARD LAYOUT
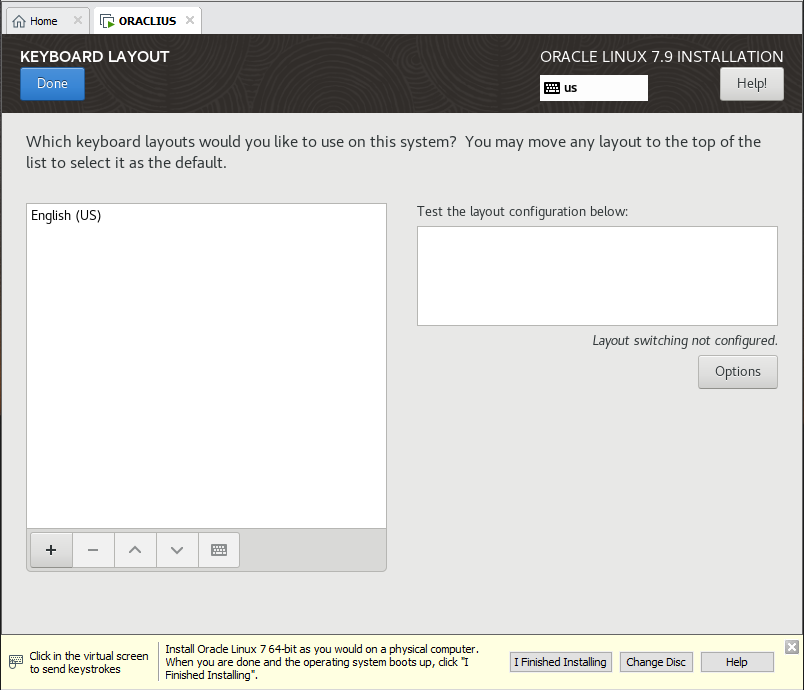
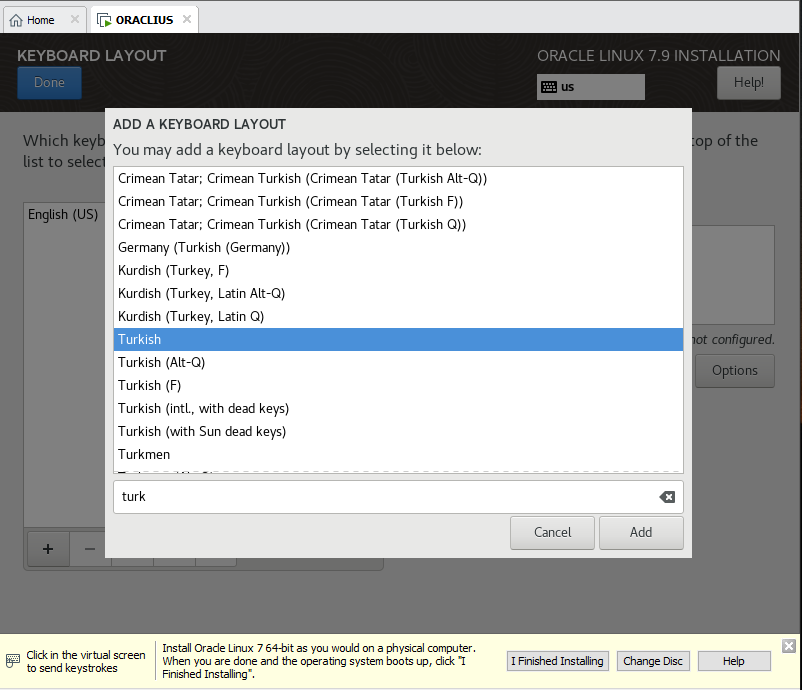
We select the desired language by clicking the + button.
SOFTWARE SELECTION
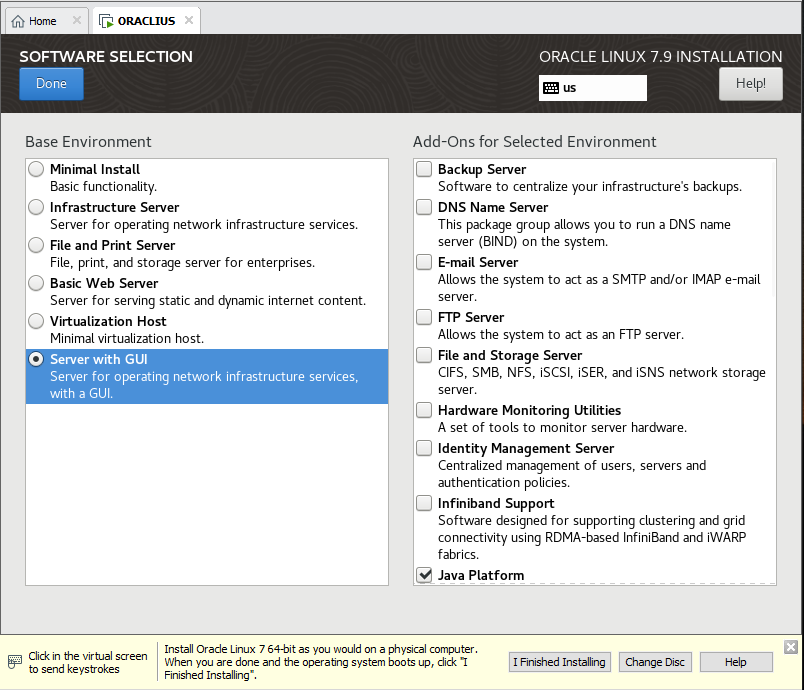
It allows you to specify the software packages and features you want to install on your system. From the right, select Server with GUI.
Server with GUI: Provides server management with graphical user interface (GNOME).
On the right side, you can select the following:
- Java Platfrom
- Security Tools
- KDE
- Performance Tools
- Compatibility Libraries
INSTALLATION DESTINATION
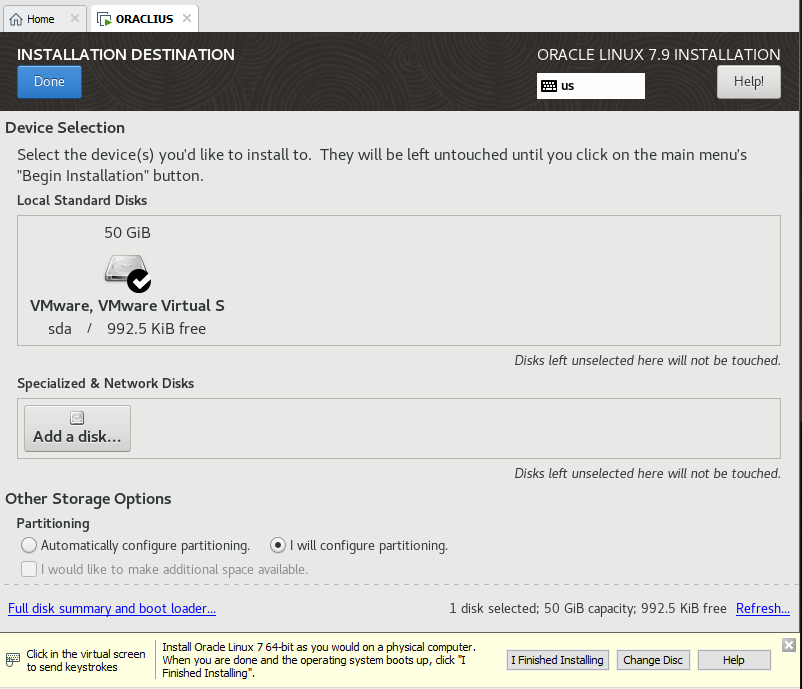
From the Partitioning section, select I will configure partitioning and click DONE.
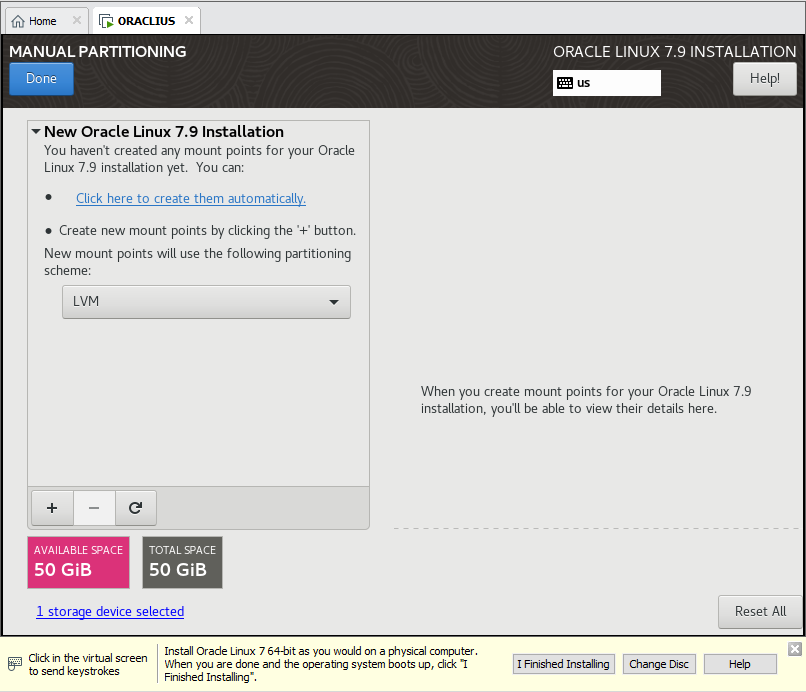
Let's select LVM and click Click here to create them automatically.
If there is space other than ‘/boot’, ‘/’ and ‘swap’, let’s delete it with the “-” button.
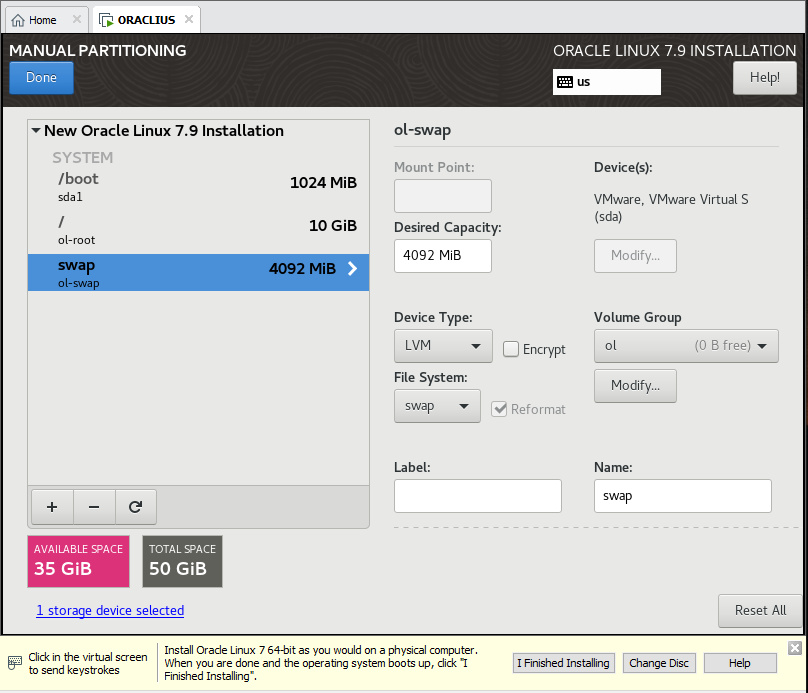
To set up SWAP size, you need to:
If you have 16 or more RAM, 16 GB swap size should be used.
If it is below 16 GB, our swap size should be equal to the RAM.
Since we initially set the RAM size to 4GB, we set the Swap Size to 4GB.
‘/’ So our root space can be given as 10 to 15GB
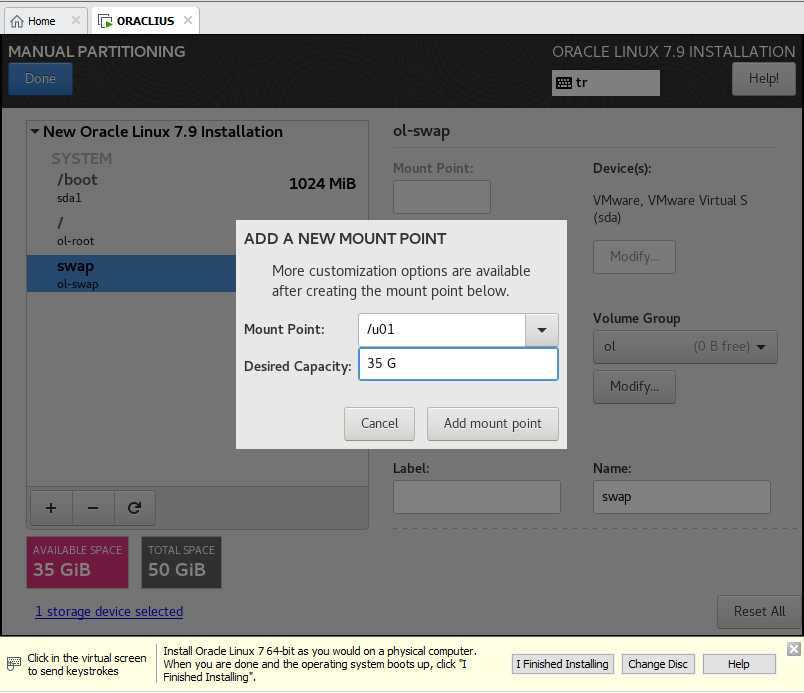
We create our '/u01' space by pressing the '+' button. And we set it to 35 GB.
‘/ ‘Root partition: 10 GB
‘/u01’ partition: 35 GB
‘swap’: 4GB
Since we will only be using our virtual machine, there is no need to define too many resources.
RECOMMENDED SIZES
‘/’ root:
Minimum Size: 20 GB (This includes a basic system installation and the essential files needed for the system to run.)
Recommended Size: 30 GB – 50 GB (Larger space to run comfortably when more software and updates are installed.)
Much more: If you plan to install a lot of software on the server or run applications such as large database management systems (Oracle, etc.), more space may be required.
‘/u01’:
/u01 is typically reserved for large applications like Oracle databases. Therefore, the size should be determined based on the system's intended use. Oracle Database Usage: For Oracle database installations, the /u01 directory typically hosts Oracle database software and database files (datafiles, redo logs, etc.). Database and Log File Size: 50 GB – 100 GB or more (depending on the size of the Oracle database). Other Use Cases: If the /u01 directory will be used solely for data storage, 20-50 GB may be sufficient. Example:
A small Oracle database: 50 GB – 100 GB
A large Oracle database: 200 GB and more (Depending on the database size).

After the changes we made, we click Accept Changes.
NETWORK & HOST NAME
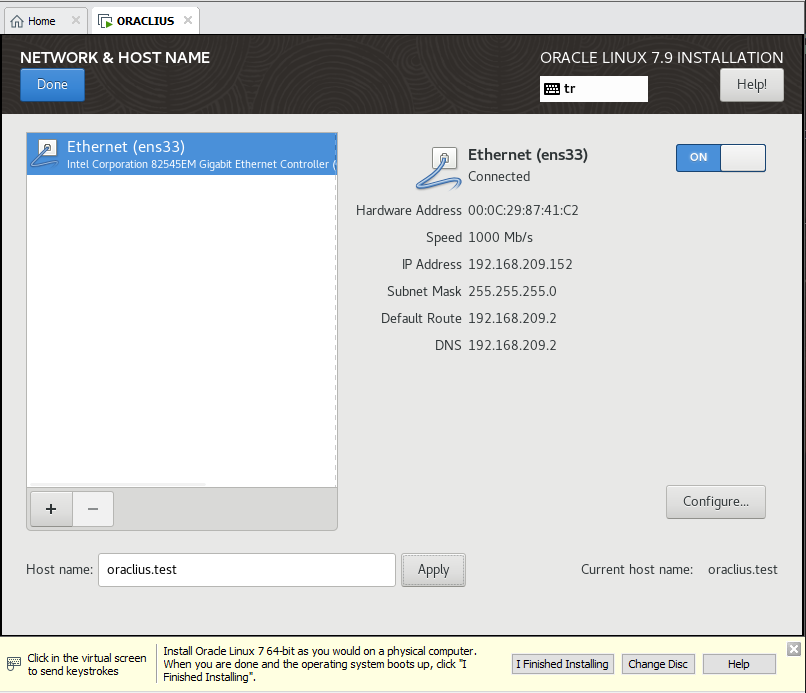
Let's activate the Ethernet (ens33) Network Port.
Let's activate the Ethernet (ens33) Network Port. Let's give the Host name a name that can indicate the identity of the server and click Apply.
Now we are ready to install. Let's say BEGIN INSTALLATION.
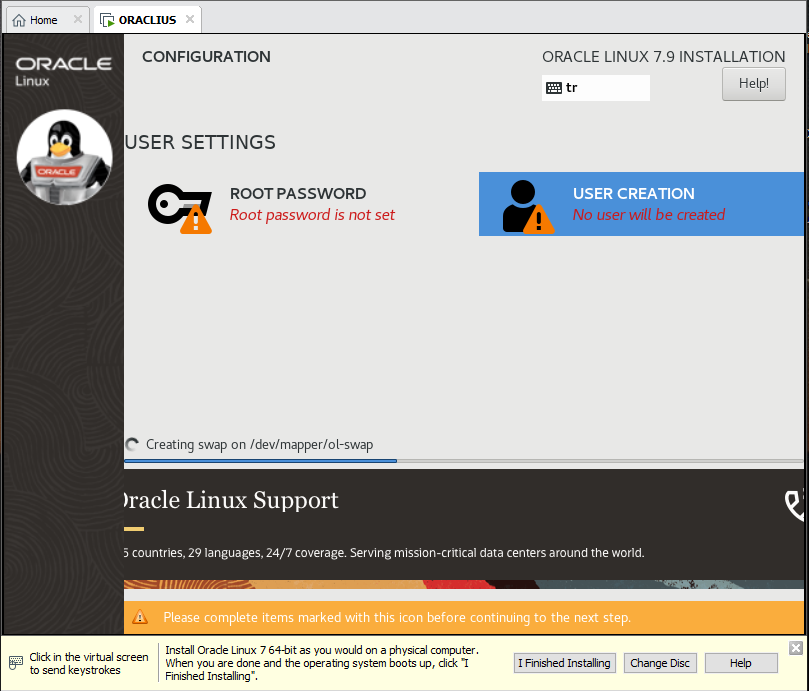
While the installation is in progress, let's set the password for ROOT and Normal users.
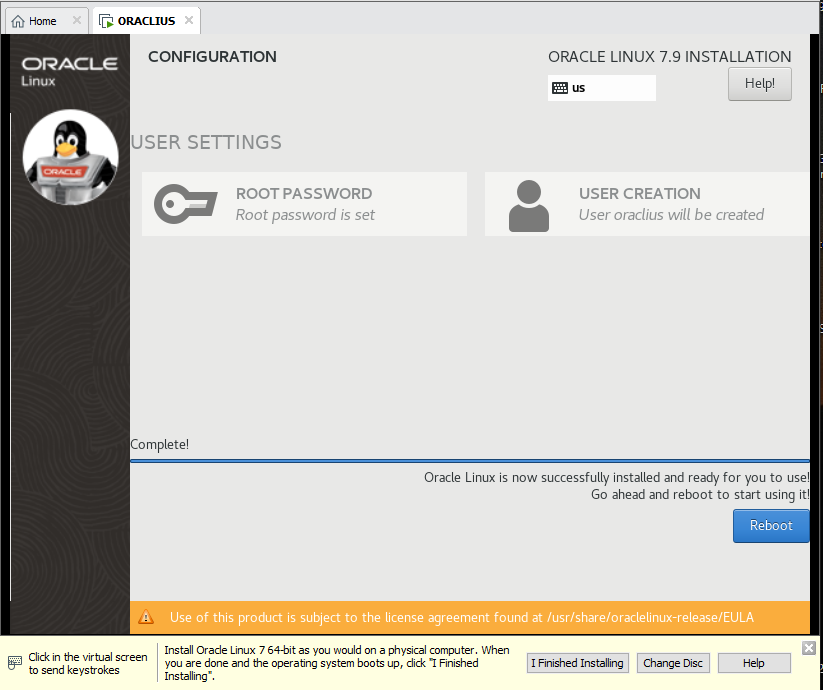
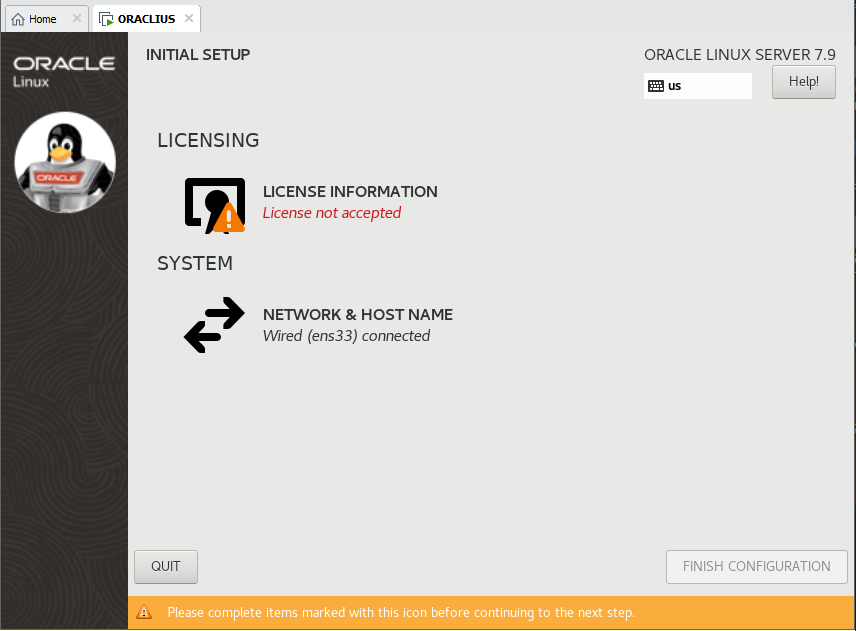
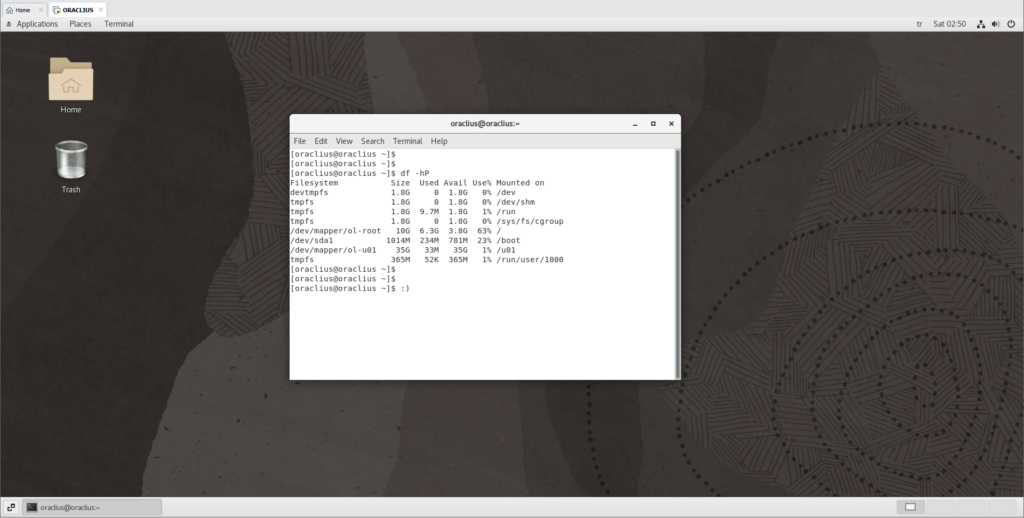
Once the installation is complete, let's reboot and confirm the license in the LICENSE INFORMATION section. We can access our Oracle Linux server.


Leave a Reply to %s